在第一次使用Zadig的时候肯定有很多同学和我一样为了测试部署在测试环境的集群中,但是随着使用过程中的很多研发同学已经习惯了这套系统,Zadig里的服务和工作流也越来越多,再重新在生产环境搭建一套手动录入数据工作量极大。
这个时候我想到了针对K8S集群的容灾备份工具velero,velero社区目前已经更新到了1.11版本,备份方案也比较成熟了,想要更多了解的可以移步Github
在Zadig迁移之前我们想要先安装一个minio存储,保证9000端口让新旧集群都能访问到,由于minio安装网上的文档比较多,在此就不多赘述了,下面文档主要写velero的安装使用。
- 简单介绍下velero的安装过程,对于velero比较熟的同学可以跳过
velero安装
本次Zadig迁移我使用的是velero1.9.3版本,建议不熟的同学跟我一样
1.在k8s集群master上安装软件包
wget https://github.com/vmware-tanzu/velero/releases/download/v1.11.0/velero-v1.9.3-linux-amd64.tar.gz
tar zxvf velero-v1.9.3-linux-amd64.tar.gz
cp velero-v1.9.3-linux-amd64/velero /usr/bin/
chmod +x /usr/bin/velero
2.登录到minio控制台获取minio accesskey
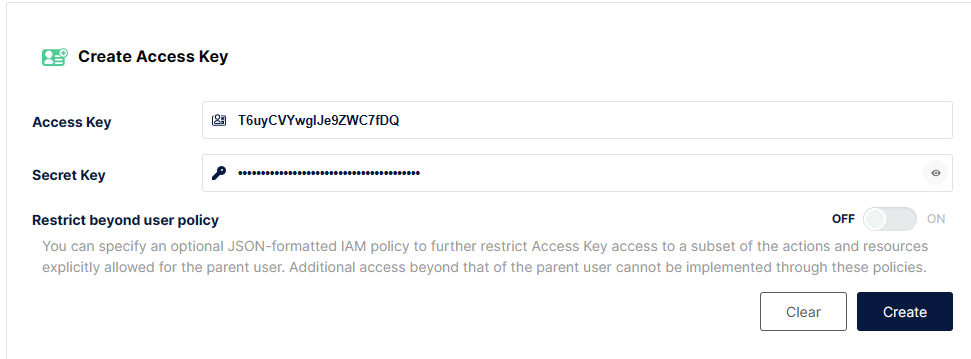
3.创建minio凭证文件
`cat >credentials-velero <<EOF`
`[` `default` `]`
`aws_access_key_id = T6uyCVYwgIJe9ZWC7fDQ`
`ws_secret_access_key = **********************`
`EOF`
4.安装velero到k8s集群
velero install \
    --provider aws \
    --image velero/velero:v1.9.3 \
    --plugins velero/velero-plugin-for-aws:v1.2.1 \
    --namespace velero \
    --bucket velero \
    --use-volume-snapshots=false \
    --secret-file ./credentials-velero \
    --default-volumes-to-restic \
    --use-restic \
    --backup-location-config region=minio,s3ForcePathStyle="true",s3Url=http://10.10.21.48:9000
5.查看velero安装情况
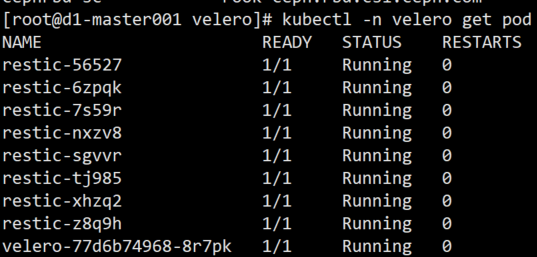
当所有节点都running后安装结束
Zadig迁移准备
本次Zadig迁移我使用的是velero1.9.3版本,建议不熟的同学跟我一样
- 旧集群操作
1.从旧集群导出需要的crd资源清单yaml文件
kubectl get crd routetables.gateway.solo.io -oyaml >routetables.gateway.solo.io.yaml
kubectl get crd upstreamgroups.gloo.solo.io -oyaml >upstreamgroups.gloo.solo.io.yaml
kubectl get crd authconfigs.enterprise.gloo.solo.io -oyaml >authconfigs.enterprise.gloo.solo.io.yaml
kubectl get crd ratelimitconfigs.ratelimit.solo.io -oyaml >ratelimitconfigs.ratelimit.solo.io.yaml
kubectl get crd virtualhostoptions.gateway.solo.io -oyaml >virtualhostoptions.gateway.solo.io.yaml
kubectl get crd routeoptions.gateway.solo.io -oyaml >routeoptions.gateway.solo.io.yaml
2.给使用到pv的pod打上标签,否则备份的时候不会备份pv内容数据
miniopodname=`kubectl -n zadig get pod -l app=minio|grep -v NAME|awk '{print $1}'`
kubectl -n zadig annotate pod/$miniopodname backup.velero.io/backup-volumes=kr-minio
kubectl -n zadig annotate pod/kr-mysql-0 backup.velero.io/backup-volumes=data-kr-mysql-0
kubectl -n zadig annotate pod/kr-mongodb-0 backup.velero.io/backup-volumes=data-kr-mongodb-0
3.使用velero备份
velero backup create zadig-20230717 --include-namespaces zadig
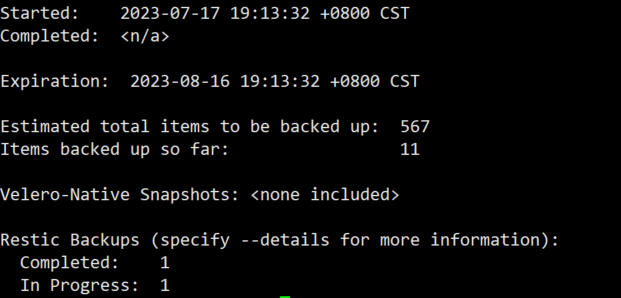
查看备份进度,直到完全完成
velero backup describe zadig-20230717
- 新集群操作
1.创建集群crd资源文件
(因为velero备份的时候我没有选择备份集群资源),就是我们第一步从旧集群导出的yaml,拷贝到新集群的master机器上
kubectl create -f routetables.gateway.solo.io.yaml
kubectl create -f upstreamgroups.gloo.solo.io.yaml
kubectl create -f authconfigs.enterprise.gloo.solo.io.yaml
kubectl create -f ratelimitconfigs.ratelimit.solo.io.yaml
kubectl create -f virtualhostoptions.gateway.solo.io.yaml
kubectl create -f routeoptions.gateway.solo.io.yaml
2.如果涉及到存储类名称发生变化的需要创建一个存储类变化的声明文件,因为我测试环境的存储类用的是nfs的,生产环境用的ceph,如果能够在新集群中创建一个同名的存储类的话就不需要如下操作了
vi change-storage-class-config.yaml
apiVersion: v1
kind: ConfigMap
metadata:
  name: change-storage-class-config
  namespace: velero
  labels:
    velero.io/plugin-config: ""
    velero.io/change-storage-class: RestoreItemAction
data:
  nfs-storage: cephfs-sc

kubectl create -f change-storage-class-config.yaml
3.从备份中恢复数据
velero restore create --from-backup zadig-20230717
4.查看恢复进度
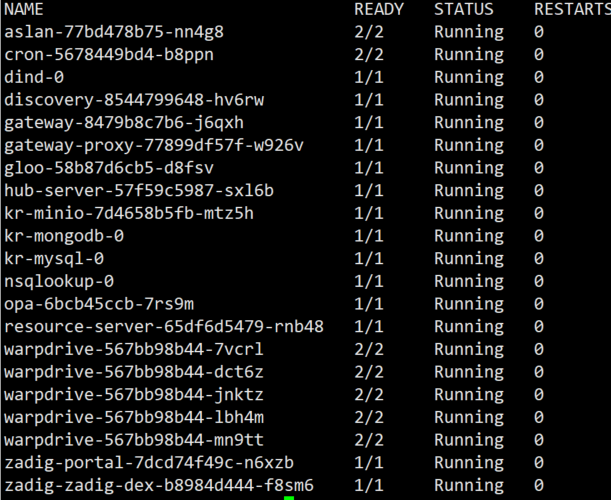
直到所有pod都running起来后修改解析地址后登录控制台查看数据完整性就行了
迁移到此结束
PS:如果在安装的时候选择的是IP:Port形式安装的想要用ingress代理的可以修改如下两个confimap
aslan-config和warpdrive-config,修改ADDRESS和REDIRECT_URI的值后重启aslan和warpdrive两个deployment即可生效
ingress指向gateway-proxy这个service的80端口就行